
4. The Printer will start to print the Accuracy
Calibration Pattern and the following message will be displayed
on the front panel:

Below is a sample of the pattern printed.
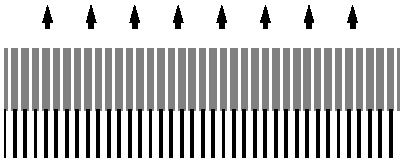
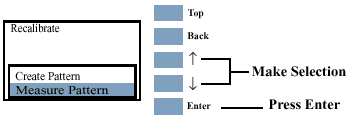
5. Once the Accuracy Calibration Pattern is completed,
the following message will be displayed. Select "Measure Pattern"
and press Enter to automatically start the Load/Unload
Media procedure.
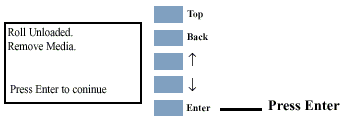
6. The Printer will unload the media and request
you to remove it from the Printer. Press Enter
to continue.
7. The following message is displayed. Press Load/Unload
Media to start the load procedure for the printed sheet.
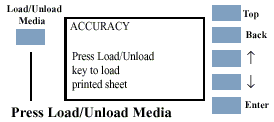
8. When loading, rotate the pattern so that the
edge with the arrows points to the leading edge, and then reload
the pattern with the arrow edge print facing down. The Printer will
load the pattern and then measure the alignment marks using the
Line Sensor on the Carriage Assembly. The following message will
be displayed while the Printer measures the pattern:

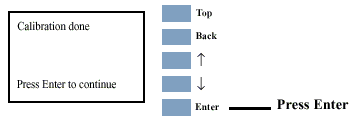
9. Once the calibration is completed, the following
message will be displayed. Press Enter to return
to the Accuracy Calibration menu.
If the Calibration fails the following message is displayed. Press
Enter to continue.

|
