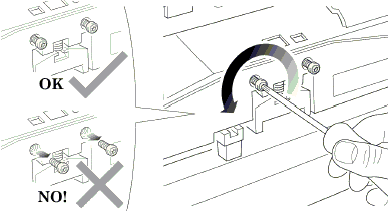
8. Using the Belt, and beginning on the left hand
side of the starting position (where the left hand edge of the paper
is positioned when printing), move the Carriage Assembly back and
forth along the length of the Printer. Listen for a scraping sound:
if you hear a sound already you may proceed directly with step 9,
if not you must lower the Carriage Assembly (step 8), and try again
until a scraping sound is heard.
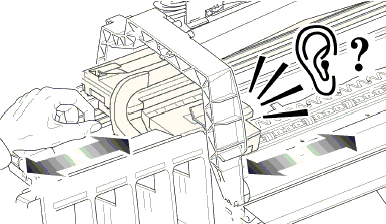
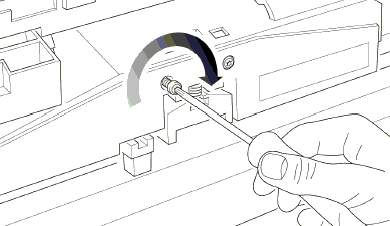
9. Lower the Carriage Assembly slightly, by turning
the T9 screw shown below anti-clockwise and then check for a scraping
sound again as shown previously in step 7.
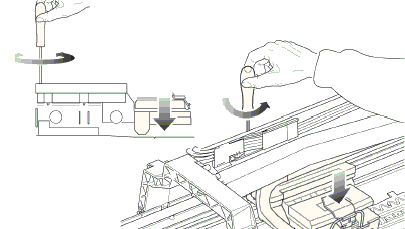
10. On moving the Carriage Assembly along the
length of the Printer you should now hear a scraping sound: this
sound indicates that you need to raise the Carriage Assembly (if
there is no sound repeat step 8).
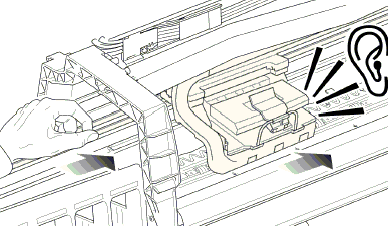
11. Raise the Carriage Assembly slightly, by turning
the T9 screw (shown below) clockwise.
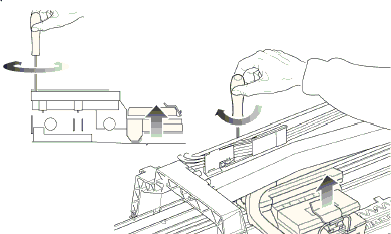
12. Check that there is no longer a scraping sound.
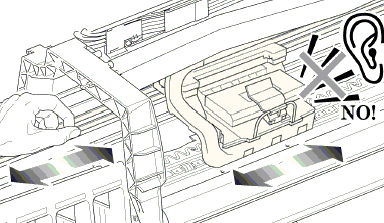
13. When the scraping has been eliminated it is
important to leave the Carriage Assembly as close as possible to
the Center Platen: move the Carriage Assembly back and forth across
the area where the scraping sound was, gently lowering and raising
the Carriage Assembly until you are sure that it is as close as
it possibly can be to the Center Platen without touching.
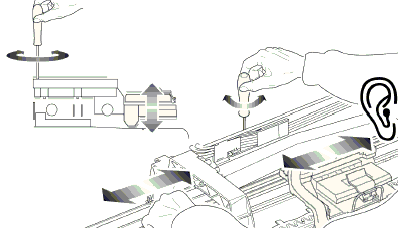
14. Continue checking the full length of the Printer
until you arrive at the blue line used to load the cut sheet paper,
repeating steps 10, 11 and 12 whenever a scraping sound is heard.
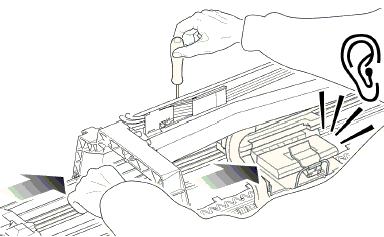
15. When the complete length of
the Printer is calibrated (clear of any scraping sound), tighten
the two T10 screws at the back of the Carriage Assembly to secure
the current position.
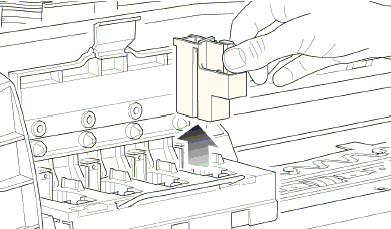
16. Remove the Carriage Height Tool.
|
