select printer | 70/100/100plus/110plus | disassembly | disassembly instructions
hp designjet 70/100/100plus/110plus printers
» disassembly instructions
  » dissasembly instructions
» dissasembly videos
» top cover
» center cover
» right end cover
» left end cover
» ink supply station cover
» ink supply station
» electronics module
» power supply unit
» service station
» front panel
» encoder strip
» carriage motor
» cleanout assembly
» ink supply tubes
» carriage assembly
» carriage belt
» starwheel assembly
» print platen assembly
» ramp motor assembly
» spittoon
» pivot assembly
» feed roller assembly
» pick assembly
» inner paper guide
» OOPS sensor
 
» send feedback or
comments
 
ink supply tubes


Switch off the product and remove the power cable.
   
  1. Remove the Center Cover
   
  2. Remove the Left End Cover
   
  3. Remove the ISS Cover
   
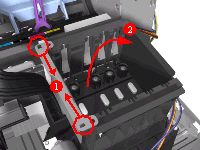
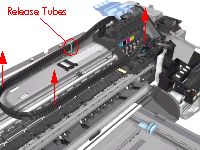
4. Release the Tubes Bracket from the Ink Supply Station by pushing the clips inwards and lifting up the Bracket.
   
5. Remove 1 T-10 screw that secures the Trailing Cable Support to the Carriage Assembly. Release the Trailing Cable Support from the Carriage Assembly.
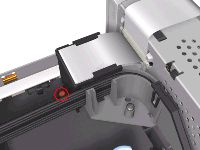
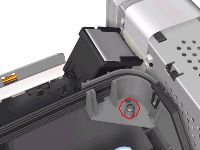
   
6. Remove 1 T-10 screw that secures the Tube Crane to the Carriage Assembly.
   
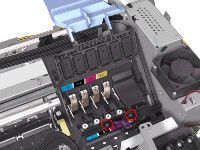
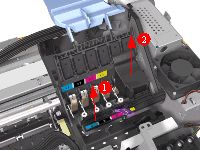
7. Open the Printhead Cover and remove 2 T-8 screws that secure the Tube Crane to the Carriage Assembly.
   
8. Lift up the Tube Crane to release the PH Cover from the Carriage Assembly and remove from the Printer.
   
9. Release the Ink Supply Tubes from the Raceway Holder and remove from the Printer.
   
© 1994-2006 Hewlett-Packard Company