 |
|
|
 |
|
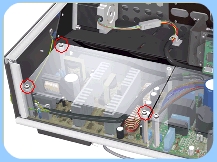
4. Remove
3 screws from the Plastic Protector that covers the Power Supply Unit.
|
|
|
|
|
 |
|
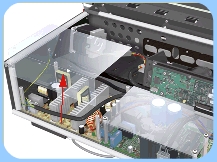
5.
Remove the Plastic Protector. |
|
|
|
|
 |
|
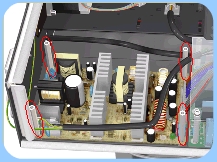
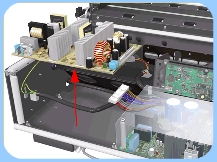
6.
Remove the 4 screws that secure the Power Supply Unit. |
|
|
|
|
 |
|
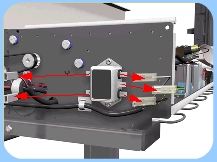
7.
Disconnect ALL the cables from the Power Supply Unit.
|
|
|
|
|
 |
|
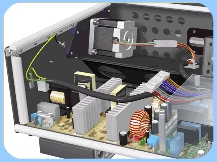
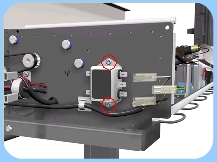
8.
Remove the Power Supply Unit from the scanner. |
|
|
|
|
 |
|
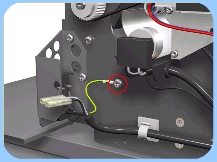
9.
Disconnect the cables attached to the RFI Filter. |
|
|
|
|
 |
|
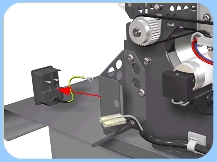
10.
Remove 2 screws that secure the RFI Filter. |
|
|
|
|
 |
|
11.
Remove the RFI Filter from the scanner. |
|
|
|
|
 |
|
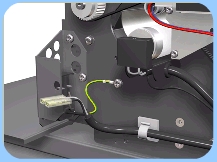
12.
Disconnect the cable attached to the Power Switch. |
|
|
|
|
 |
|
13.
Remove the screw that secures the grounding cable to the chassis.
|
|
|
|
|
 |
|
14.
Release the securing clips for the Power Switch and remove from the
scanner. |
|