 |
|
|
 |
|
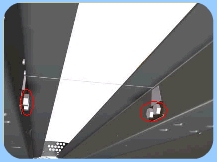
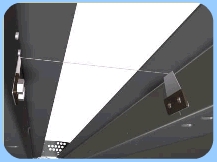
9.
Remove 4 screws that secure the Leaf Springs.
|
|
|
|
|
 |
|
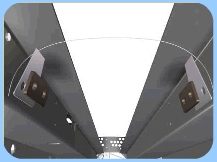
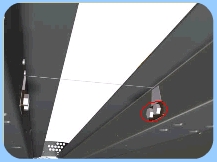
10.
Remove the Leaf Springs and the Stitching Wire. |
|
|
|
|
| Installation: |
| |
 |
|
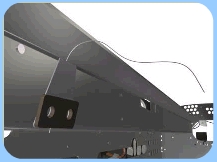
1.
Wrap the Stitching Wire around one of the Leaf Springs. |
|
|
|
|
 |
|
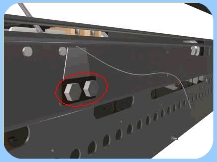
2.
Install the Leaf Spring using 2 screws.
|
|
|
|
|
 |
|
3.
Tension the Stitching Wire around the second Leaf Spring. |
|
|
|
|
 |
|
4.
Install the second Leaf Spring using 2 screws, making sure the wire
is continuously tensioned.
|
|