| |
|
 |
|
|
| |
1. Remove
the Center Cover |
| |
|
| |
2. Remove the Right
End Cover |
| |
|
| |
3. Remove the Electronics
Module |
| |
|
| |
4. Remove the Power
Supply Unit |
| |
|
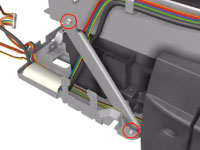 |
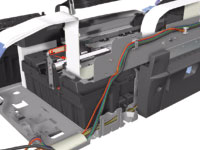
5. Remove 2 screws
that secure the Reinforcement Bracket. remove the Reinforcement Bracket
from the Printer. |
| |
|
 |
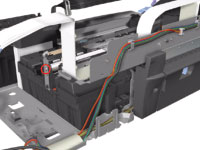
6. Disconnect the
Service Station Cable. |
| |
|
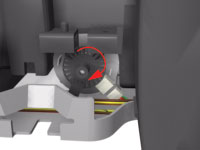 |
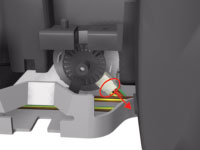
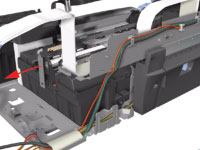
7. Uncap the Carriage
Assembly by turning the Service Station Motor clockwise. |
| |
|
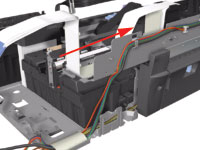 |
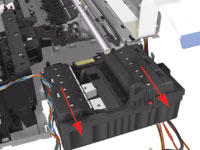
8. Move the Carriage
Assembly out of the Service Station. |
| |
|
 |
9. Release the Encoder
Strip from the Encoder Strip Holder. |
| |
|
 |
10. Remove 1 T-10
screw that secures the Encoder Strip Holder on the right hand side
of the Printer. |
| |
|
 |
11. Remove the Encoder
Strip Holder from the Printer. |
| |
|
 |
12. Slide the Service
Station out of the Printer. |
| |
|