| |
|
||||||||||||||||||||||||||||||||||||||||||||||||||||||||||
|
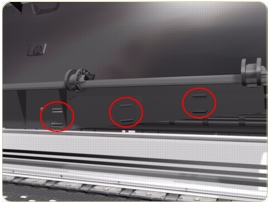
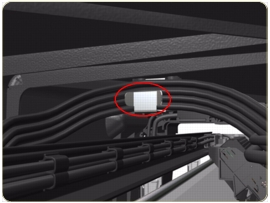
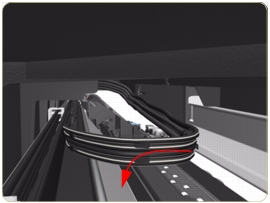
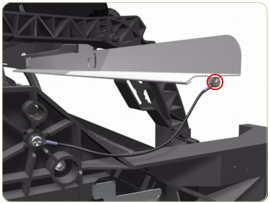
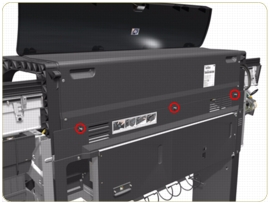
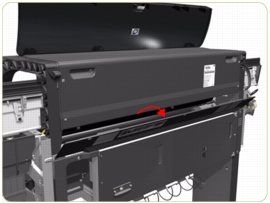
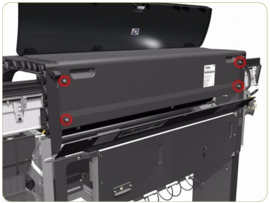
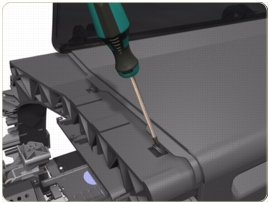
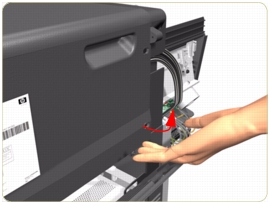
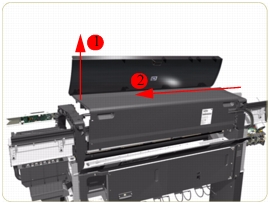
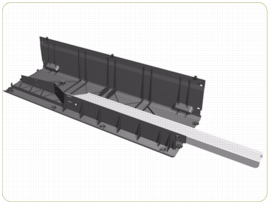
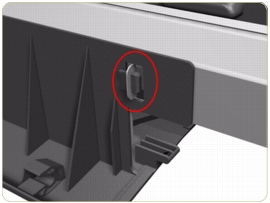
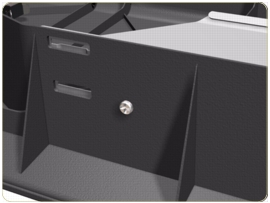
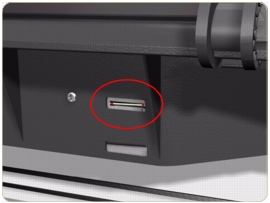
Top CoverRemoval
Switch off the product and remove the power cable.
If a NEW Top Cover is to be installed, take note of the following instructions before assembling the Top Cover on to the Printer:
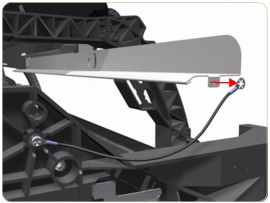
4. Remove the Window from the old Top Cover and install it on the new Top Cover.
|
||||||||||||||||||||||||||||||||||||||||||||||||||||||||||
|
|||||||||||||||||||||||||||||||||||||||||||||||||||||||||||