| |
|
||||||||||||||||||||||||||||||||||||
|
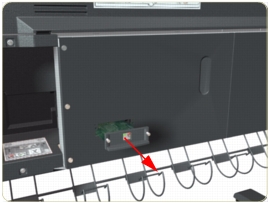
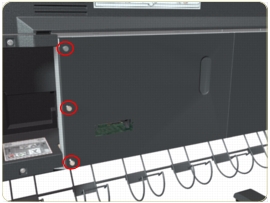
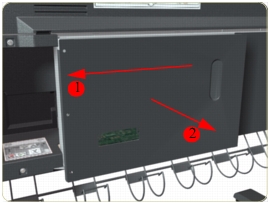
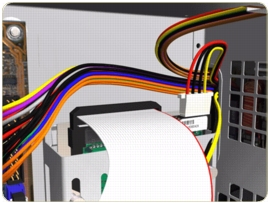
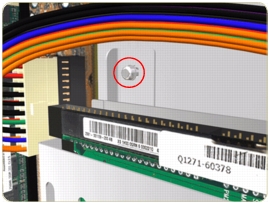
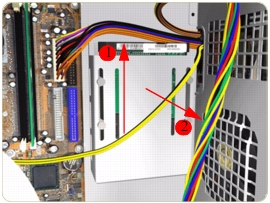
Hard Disk Drive (HDD)Removal
Switch off the product and remove the power cable.
You MUST NEVER replace both the Hard Disk Drive and the Ink Supply Tubes and Trailing Cable at the same time. If both parts need to replaced, you MUST first replace one part and then power ON the Printer until it completely initializes. Then you can power OFF the Printer and replace the other part.
|
||||||||||||||||||||||||||||||||||||
|
|||||||||||||||||||||||||||||||||||||