| |
|
||||||||||||||||||||||||||||||||||||||||
|
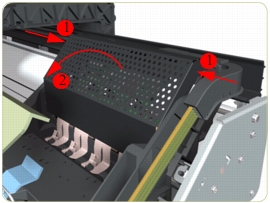
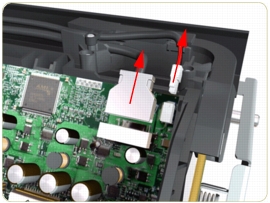
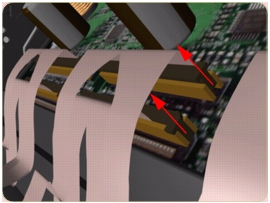
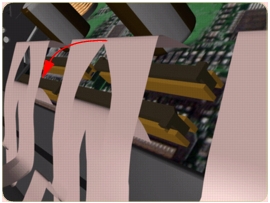
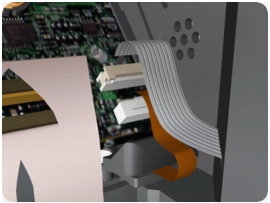
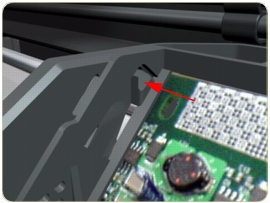
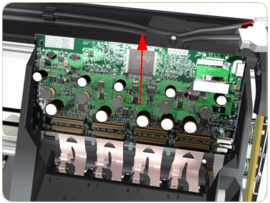
Carriage PCARemoval
Switch off the product and remove the power cable.
Once you have installed a NEW Carriage PCA, you MUST perform the following steps to ensure that the Printer will function correctly:
1. Power ON the Printer.
2. Execute the Carriage Setup Utility from the Service Utility Menu.
3. Install the Printheads once the Utility has been completed successfully.
|
||||||||||||||||||||||||||||||||||||||||
|
|||||||||||||||||||||||||||||||||||||||||