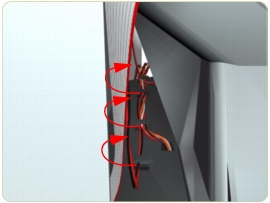
5. Release the Pinchwheel Lever Sensor Cable from the Vacuum Fan.
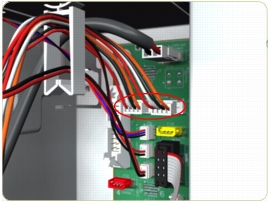
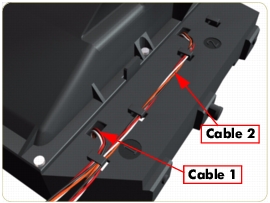
6. Disconnect both Vacuum Fan cables from the Interconnect PCA.
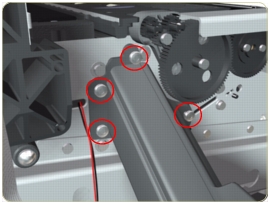
7. Remove four T-20 screws (Type B) that secure the Vacuum Fan to the Printer.
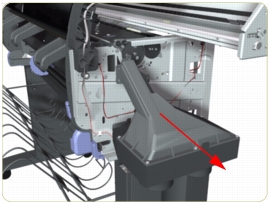
8. Remove the Vacuum Fan from the Printer.
After installing the NEW Vacuum Fan, make sure you perform the following Service Calibration: Paper Advance Calibration.
When connecting the Vacuum Fan cables to the Interconnect PCA, make sure you connect the cable with the label marked Vacuum Fan 1 to connector 1 and the cable with the label marked Vacuum Fan 2 to connector 2. You can verify if both cables are labelled correctly by the actual markings on the Vacuum Fan.