Switch off the product and remove the power cable.
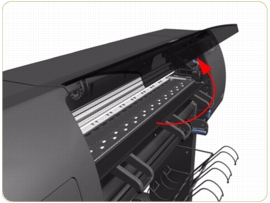
1. Open the Window.
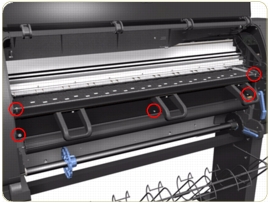
2. Remove three T-15 screws and two cross-head screws that secure the Front Platen.
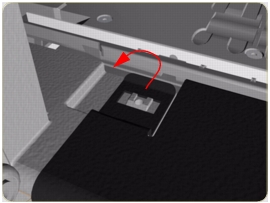
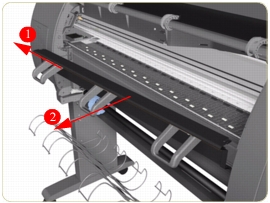
3. Release the clip on the left hand side of the Front Platen.
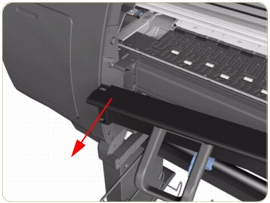
4. Pull out the left hand side of the Front Platen.
5. Slide the Front Platen to the Left and then remove from the Printer.
If a NEW Front Platen is to be installed, make sure that you first remove ALL 3 Media Deflectorsfrom the OLD Front Platen and install them on the New Front Platen.