| |
|
||||||||||||||||||||||||||||||||||||||||||||||||||||
|
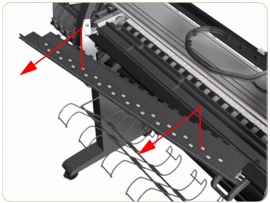
Center PlatenRemoval
Switch off the product and remove the power cable.
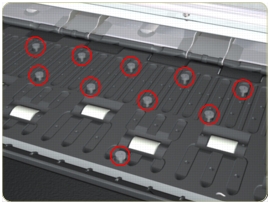
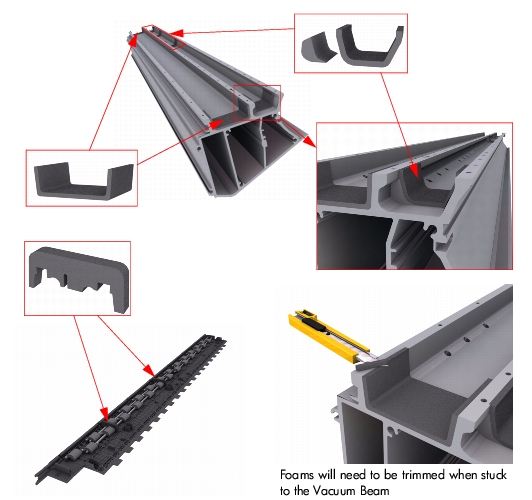
Installation of the Foams Before installing the Center Platen, make sure you check the foams that are stuck on the Vacuum Beam. These foams should ONLY be changed if they are damaged. In the circumstance where they do need to be changed, use the following illustrations to guide you:
 |
||||||||||||||||||||||||||||||||||||||||||||||||||||
|
|||||||||||||||||||||||||||||||||||||||||||||||||||||