| |
|
||||||||||||||||||||||||||||||||||||||
|
Main PCA FormatterRemoval
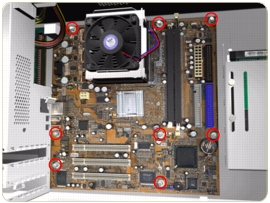
Switch off the product and remove the power cable.
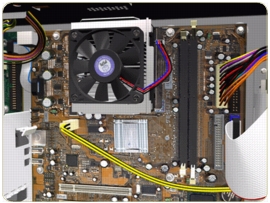
Do NOT remove the Fan or the Processor (located under the Fan) from the Main PCA Formatter - The Fan and the Processor are part of the Main PCA Formatter support part and should be replaced as one assembly.
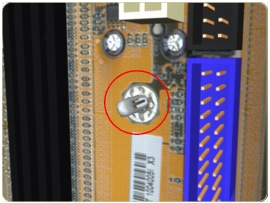
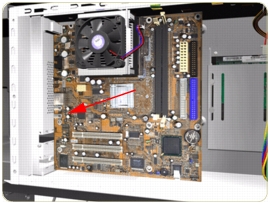
When installing the Main PCA Formatter, make sure that you first locate it on the plastic locating pin and then install the screws.
|
||||||||||||||||||||||||||||||||||||||
|
|||||||||||||||||||||||||||||||||||||||