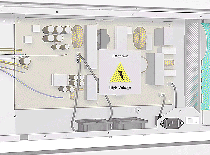
Power Supply Unit (PSU)
WARNING: Switch off the Printer and remove the Power Cord.
3. Remove the Right Rear Cover
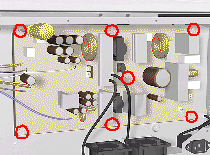
Installation of the Power Supply Unit (PSU)
WARNING: After installing the Power Supply Unit, remember to place the plastic protective cover over the unit.
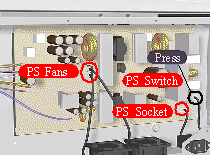
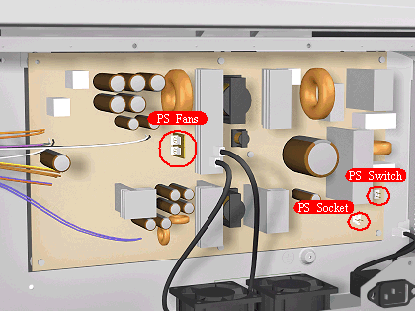
NOTE: The Power Supply Unit connections are illustrated below.