 |
Heater Assembly
(Only Applicable to the 5500 Series)
|
|
 |
| |
 |
 |
 |
6.
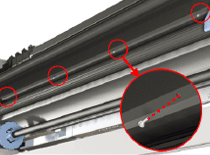
Remove 4 screws that secure the heater from the bottom of
the Printer. |
| |
|
|
|
 |
| |
 |
 |
 |
7.
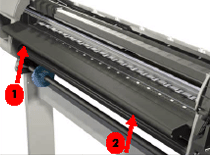
Gently tap one side of the Heater from underneath to release it. Then
gently tap the other side of the Heater from underneath until it can
be removed. |
| |
|
|
|
| |
 |
|
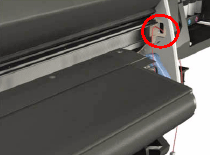
8. Before
removing the Heather completely, pull out the Heater Cable from the
access hole in the sideplate. |
| |
|
|
|
| |
 |
|
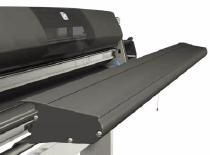
9. Remove
the Heater from the Printer. |
| |
|
|
|
 |
| |
 |
 |
 |
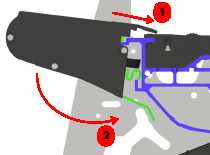
1. When installing the Heater,
place the top lip of the Heater over the Center Platen Assembly and
then push the Heater downwards. |
| |
|
|
|
| |
 |
|
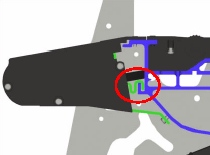
2. Make sure that
the inner lip of the Heater is linked with the lip on the Chassis
frame. |
| |
|
|
|
