WARNING: Switch off
the Printer and remove the Power Cord.
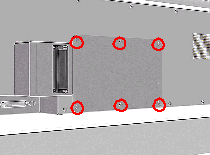
1.
Remove 6 T-15 screws (Type B) from the HDD Access Cover. Remove the
HDD Access Cover.
2. Remove
the HDD with its foam holder.
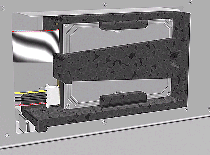
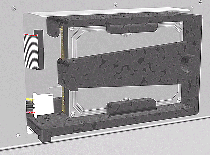
3. Disconnect
the HDD Cable and Power Supply Cable from the HDD.
Installation of Hard
Disk Drive
NOTE: If you replace the Main PCA and the HDD at the same time
you must perform ALL Service Calibrations (See Service
Station Calibration) and the EEROM
Setup.
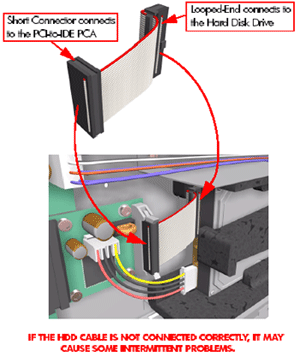
WARNING: When Installing
the Hard Disk Drive make sure the holder is placed in the right position
so that it cannot move.
NOTE: When the Hard
Disk Drive is replaced perform the following Service Utility: