Front Platen Assembly (Only Applicable to the 5000 Series)
WARNING: Switch off the Printer and remove the Power Cord.
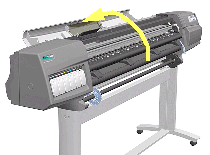
1. Remove the Left Hand Trim
NOTE: Make sure the Carriage is not in the print Platen area.
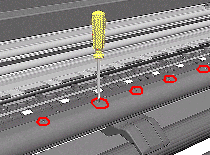
3. Remove the following screws (Type R) from the Front Platen Assembly:
-15 T-10 screws in the 60" Model. -11 T-10 screws in the 42" Model.
NOTE: Be very careful with these screws. If they break you will not be able to remove them.
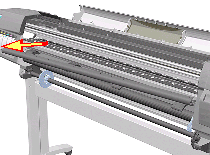
4. Remove the Platen starting from the left side.